The SAM Splint—short for “Structural Aluminum Malleable” Splint—is a versatile and valuable tool in medicine and emergency care known for being a flexible and moldable device used to immobilize, support injured limbs and basic life support bag (bls bag) or body parts. It’s easy to use and provides effective temporary stabilization for fractures, sprains, and other musculoskeletal injuries.
One challenge people often face is figuring out how to mold it properly to provide maximum support without causing further discomfort. Another issue is securing the splint so it stays in place.
Did you know the SAM Splint can be shaped in various ways to fit different injuries? Its versatility is one reason it’s trusted by medical professionals and first responders worldwide.
In this guide, we’ll break down the steps needed to apply the splint safely and effectively, giving you the confidence to use it when it matters most.
What is a SAM Splint?
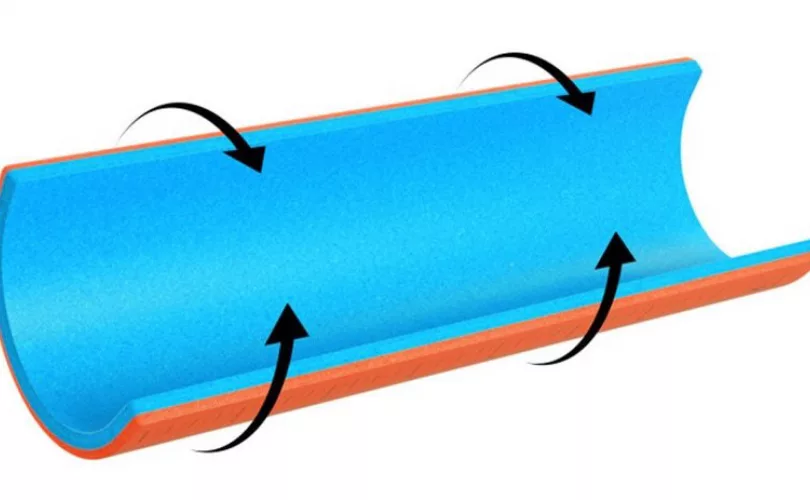
A SAM Splint is a thin, lightweight, and radiolucent (meaning X-ray beams can pass through) strip of material made of a soft aluminum sheet covered with closed-cell foam. Its design allows it to be easily cut, folded, and shaped to fit the contours of a patient’s body, making it adaptable for an array of injury types and locations. The splint comes in various sizes and shapes, from smaller options to flat ones, depending on the application’s needs.
Key Features of a SAM Splint
Some recognizable characteristics of a SAM splint include the following:
- Malleable and Moldable: It can be folded, bent, or rolled into a desired shape to support and immobilize fractures and dislocations.
- Waterproof and Reusable: It is resistant to water, blood, and other fluids, making it suitable for use in wet or outdoor environments. The splint can be cleaned and reused after proper sterilization.
- Radiolucent: The SAM Splint does not interfere with X-ray imaging, allowing medical professionals to assess the injury without removing the splint.
- Lightweight and Compact: It is lightweight and can be easily carried in medical kits, first aid bags, or emergency response vehicles.
- Versatile: SAM Splints can be used for various injuries, including fractures and sprains, and as a cervical collar bag for neck support.
How to Use a SAM Splint?

Using a SAM Splint effectively requires some basic knowledge and practice. Here’s a step-by-step guide on correctly applying a SAM Splint to immobilize an injured limb.
- Assess the Injury: Before applying the SAM Splint, assess the injured area to determine the nature and severity of the injury. Ensure there are no open wounds, and check for any signs of vascular compromise, such as pale or cold extremities.
- Measure and Cut: Measure the splint against the length of the injured limb and cut it to the appropriate size. You can use scissors or sharp-edged objects to cut the splint to the required length.
- Pad the Splint: You can pad it with soft materials such as gauze or cotton to provide additional comfort and support. Place the padding on the splint where it will contact the patient’s skin.
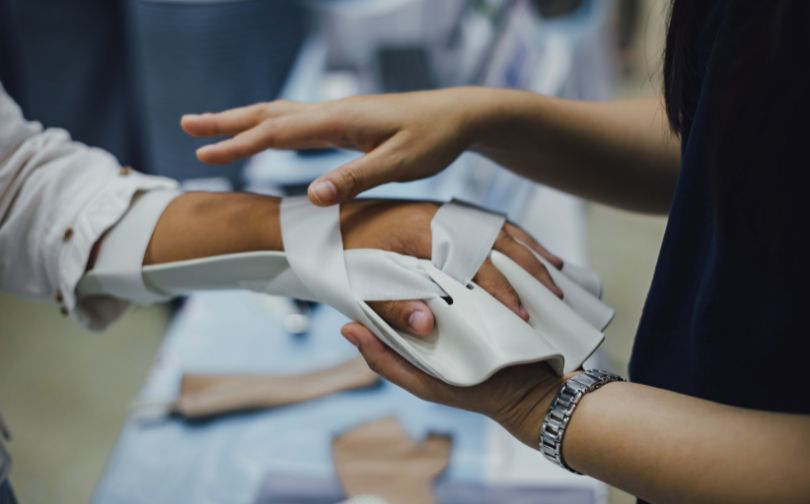
- Position the Splint: Carefully position the splint alongside the injured limb, ensuring that the splint runs along the length of the body part, providing support on both sides of the injury.
- Mold the Splint: Gently mold the splint around the injured area, conforming it to the shape of the limb while maintaining the necessary immobilization. Be cautious not to apply excessive pressure that may cause further harm.
- Secure the Splint: Use adhesive tape, bandages, or any available materials to secure the splint in place. Ensure it’s snug but not too tight, as excessive constriction may impede blood flow.
- Reassess and Monitor: After splinting, reassess the limb’s circulation, sensation, and movement (CMS) to ensure no complications related to the splint application. Periodically monitor the patient for any signs of discomfort or worsening symptoms.
- Seek Medical/Professional Attention: While SAM Splints are valuable for initial stabilization, seeking professional medical evaluation and treatment for any musculoskeletal injury is essential. The splint provides temporary support until somebody can administer more definitive care.
Other Scenarios that Benefit from SAM Splints
These types of splints can also be used in a wide range of other scenarios and injuries, including:
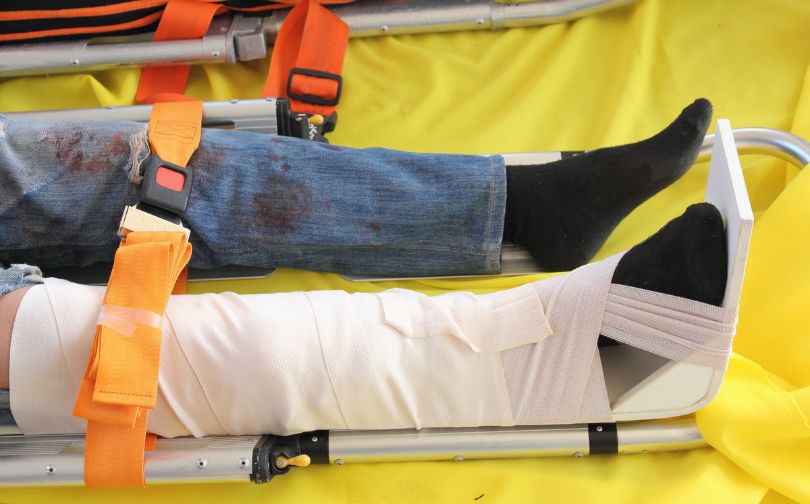
- Limb Fractures: Handy for immobilizing fractured limbs. Someone can mold them to create a stable splint that supports the injured area until further medical care can be administered.
- Sprains and Strains: Can support and restrict movement for sprained or strained joints, such as ankles or wrists, aiding healing.
- Dislocations: When a joint is dislocated, SAM splints can help immobilize it and prevent further damage until a healthcare professional can perform reduction (returning the joint to its normal position).
- Neck and Back Injuries: SAM splints can be adapted to create cervical collars for neck support or torso splints for stabilizing spinal injuries. However, extreme caution and proper training are essential when dealing with potential neck and back injuries.
- Wound Immobilization: In some cases, they can be used to immobilize and support an injured body part with a wound, helping prevent further damage and contamination.
Conclusion
The SAM Splint is a versatile and effective tool for immobilizing and supporting injured limbs and body parts. Its malleability, lightweight design, and radiolucent properties make it a valuable addition to medical kits and emergency response equipment. Proper knowledge of its use and regular training can empower healthcare providers and first responders to provide timely and practical support to individuals with musculoskeletal injuries, ultimately improving patient outcomes and comfort.
FAQs
What Tools Are Needed to Prepare a Sam Splint?
To prepare a SAM Splint, you need scissors or shears for cutting it to size. Adding padding, like gauze or cotton, enhances comfort. The splint, made of malleable aluminum and foam, can be easily shaped by hand to fit the injured area properly.
How Do You Secure a Sam Splint Once It Is Applied?
After applying a SAM Splint, secure it with adhesive tape, bandages, or other available materials. Ensure the splint fits snugly but not too tightly to avoid restricting blood flow. Always check circulation, sensation, and movement to confirm that the splint is properly positioned and effective.
How Often Should You Check on an Injury After Applying a Splint?
Once a splint is applied, monitor the injury regularly for discomfort or changes in circulation, sensation, or movement. Initially check every few hours, then periodically as advised by a healthcare provider. Consistent monitoring ensures the splint remains effective and helps prevent potential complications.
Can a Damaged Sam Splint Be Repaired or Should It Be Replaced?
A damaged SAM Splint is best replaced rather than repaired. While it’s durable and can be reused after cleaning, significant damage might compromise its effectiveness in immobilizing an injury. Always prioritize safety and functionality when assessing the usability of medical equipment.